
✏️ How to Edit and Publish a University Page
Anyone at eTop can fix a typo, update a step, or add a note to a page on eTop University. You do it in your web browser, with nothing to install.
You can’t break the live site by saving. Visitors only see your change after you click Publish changes.
Before you start
- You need your eTop Microsoft account, the same one you use for Outlook and Teams.
- The first time you sign in, the editor creates your account. If it says you don’t have permission to do something, ask BJ (William Pote).
1. Open the editor
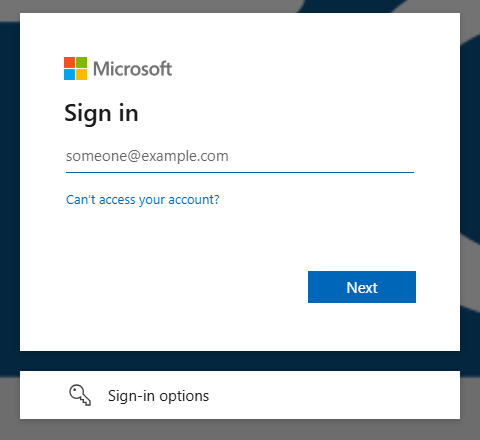
Go to https://university.etop.tech/_emdash/admin and sign in with your eTop email address. If your phone asks you to approve the sign-in, approve it.
The very first time, a Welcome box appears. Click Get Started to close it.
2. Find the page
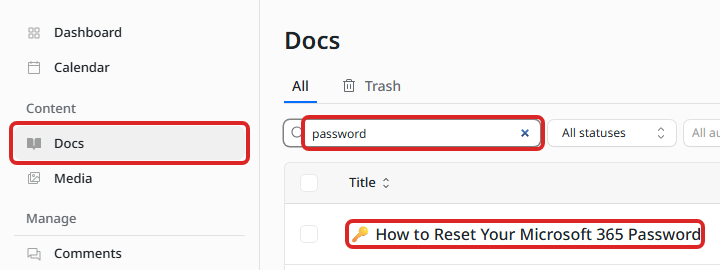
- Click Docs in the menu on the left.
- Type a word from the page’s title into Search docs…
- Click the page’s title.
3. Make your change
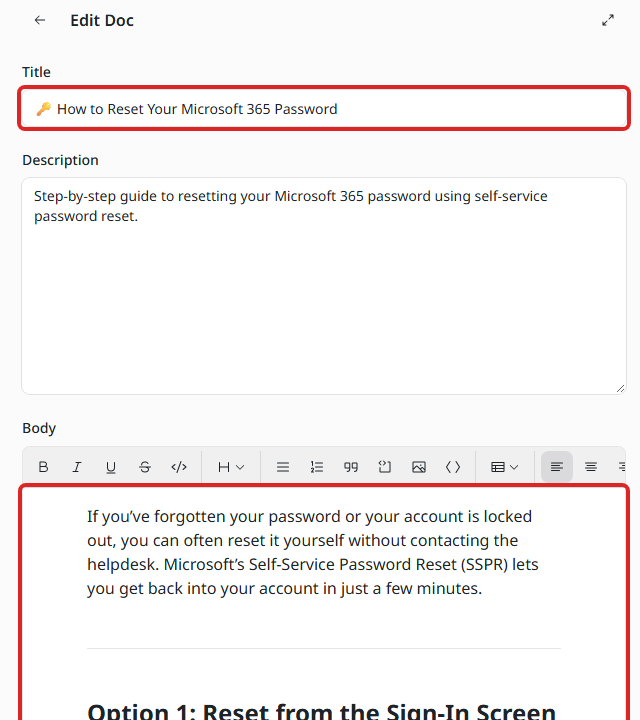
The editor shows the page in two main boxes:
- Title is the big heading at the top of the page.
- Description is the short summary that shows up in search results. You can usually leave it alone.
- Body is everything else on the page. Click where you want to type, just like in Word. The buttons above it make text bold, add lists and headings, and add links.
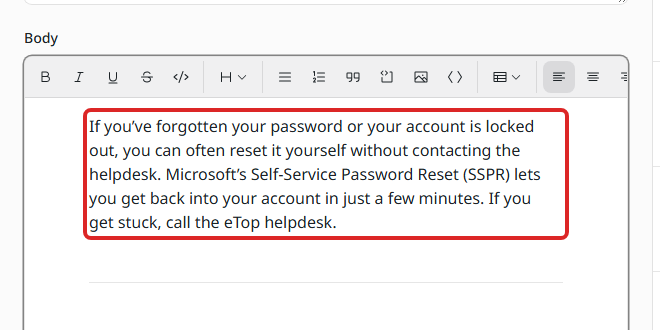
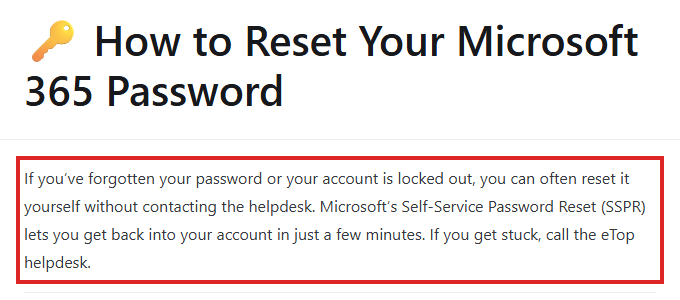
Here, one sentence was added to the end of the first paragraph:
4. Save
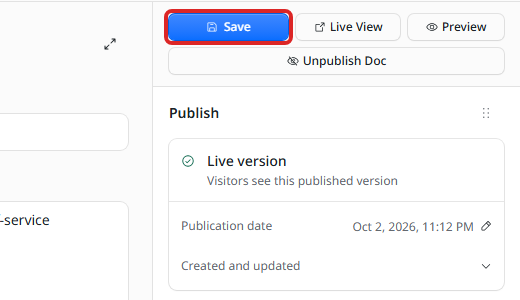
Click Save at the top right.
Saving keeps your change as a draft. The panel on the right now says Draft changes, and visitors still see the old version.
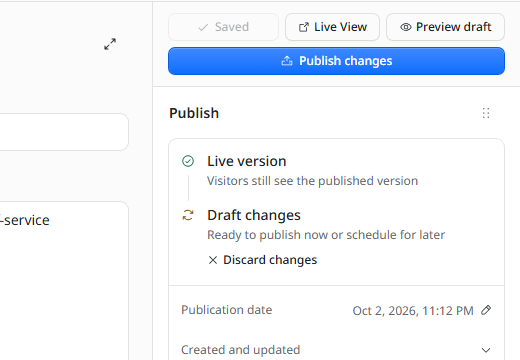
- To see how the page will look, click Preview draft.
- To throw your change away, click Discard changes.
5. Publish
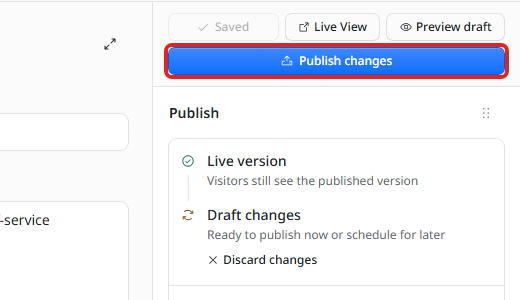
- Click Publish changes.
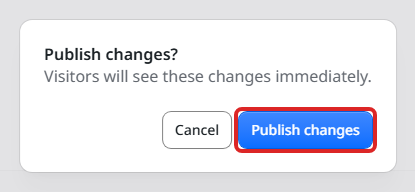
- A box asks you to confirm. Click Publish changes again.
The panel now says Live version, and visitors see your change.
6. Check the live page
Click Live View at the top right to open the page on the site and check your change.
Undo a mistake
Every time you save, the editor keeps a copy. To go back to an earlier version:
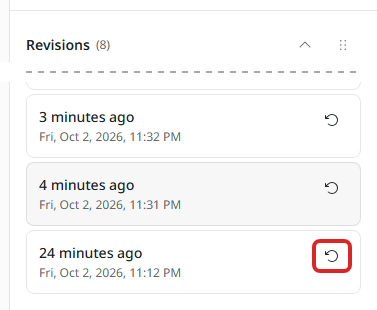
- In the editor, scroll down the right-hand column and click Revisions.
- Each version shows the date and time it was saved. Find the one from just before your change and click the round arrow next to it. Not sure which one? Ask BJ before you restore.
- Click Restore.
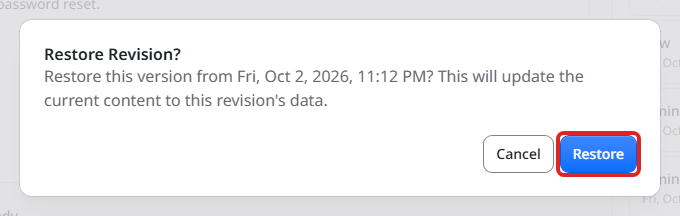
- The old version comes back as a draft. Click Preview draft to check it, then Publish changes to put it on the live site.
Leave these alone
These change more than the page’s words. Ask BJ before using them:
- Unpublish Doc (just under Save) takes the whole page off the website.
- Slug (under URL & language) is the page’s web address. Changing it breaks every link to the page.
- Move to Trash and the red bin icons in the Docs list delete the page.
- Pictures: adding a new picture isn’t switched on yet. If a page needs one, ask BJ.
Good to know
- A brand-new page also needs a spot in the menu on the left. Ask BJ to add one for you.
- Stuck, or not sure? Save your change without publishing and ask BJ to look. Nobody sees a draft until it’s published.